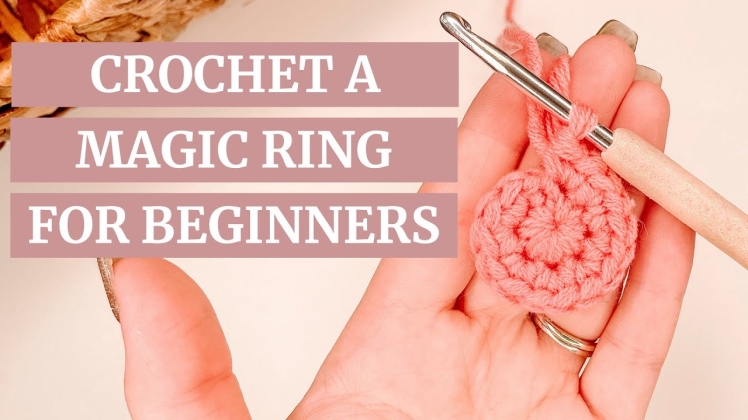
The magic circle, also known as the magic ring, is a fundamental skill for any crocheter who wants to create projects that work in the round, like amigurumi toys, hats, and bags. But for beginners, it can seem like an intimidating feat. Fear not! This comprehensive guide will walk you through the process step-by-step, transforming you from a magic circle novice to a confident crocheter in no time.
What is the Magic Circle?
The magic circle is a technique for starting your crochet project in a seamless ring, eliminating the need for a chain foundation and minimizing that pesky starting hole. This creates a neater, more professional-looking finish for your work.
Why Use the Magic Circle?
There are several advantages to using the magic circle:
- Seamless finish:As mentioned above, the magic circle creates a continuous circle without a hole, eliminating the need for sewing or closing the gap later.
- Stronger foundation:The magic circle creates a tighter and more secure foundation for your stitches, which is especially important for projects that require stability, like bags or amigurumi.
- Flexibility:The magic circle can be adjusted in size to accommodate different starting stitch counts, making it versatile for various projects.
Supplies You’ll Need:
- Yarn of your choice (weight appropriate for your project)
- Crochet hook (size appropriate for your yarn)
- Scissors
Step-by-Step Guide:
- Create the Loop: To begin, grasp the yarn’s end between your dominant hand’s thumb and index finger. Using the yarn, create a loose “X” by creating a loop over the remaining fingers.
- Secure the Loop: Pinch the loop closed between your thumb and index finger. Wrap the working yarn (the long end coming from the ball) around the base of your fingers, forming a second loop. Secure this loop by holding it in place with your thumb.
- Insert the Hook: Insert your crochet hook under the top loop, closest to your thumb.
- Grab and Pull: Grab the working yarn with your hook and pull it through both loops on your hook. You now have a slip knot.
- Chain One (Optional): Depending on your pattern, you may need to chain one here to reach the correct height for your first stitch. Simply insert your hook into the top of the loop on your hook, grab the yarn, and pull up a loop.
- Work Your Stitches: Now comes the fun part! Insert your hook into the loop and work your first stitch according to your pattern instructions. Repeat, inserting your hook into each loop around the circle and working the required stitch.
- Tighten the Circle: Once you have completed your first round of stitches, gently pull the tail end of the yarn you used to create the loop. This will tighten the circle and close any gaps.
- Weave in the Ends: Cut the yarn tail close to the knot and weave it into the back of your stitches to secure it.
Tips for Success:
- It may take a few tries to get the hang of anything, but practice makes perfect.. Keep practicing, and you’ll be forming magic circles like a pro in no time.
- Tension is key:Maintain even tension throughout the process to avoid a loose or wonky circle.
- Watch video tutorials:For a visual demonstration, check out video tutorials online. Seeing the technique in action can be very helpful.
- Start small:Begin with projects that require a small number of starting stitches, like a coaster or a simple amigurumi. This will lessen the daunting nature of the process.
- Don’t be afraid to adjust:The magic circle can be adjusted in size by making more or fewer loops around your fingers at the beginning. Experiment until you find the perfect size for your project.
Beyond the Basics:
Once you’ve mastered the basic magic circle, you can explore more advanced techniques like:
- The double magic ring:This creates a thicker and more stable base, ideal for projects that require extra support.
- The invisible magic circle:This technique hides the tail end of the yarn within the circle, creating a truly seamless finish.
With a little practice and these helpful tips, you’ll be crocheting magic circles with ease and confidence. So grab your yarn and hook, and get ready to create beautiful projects that start with a touch of magic!